"It's a Girl" Baby Card
I made this card for a friend's baby shower last weekend. It's taken me a while to post as it's been a crazy busy week.
Supplies
Soft tints yellow/pink gingham paper (12X12)- Hot Off the Press (HOTP)
Baby Stickers - from the Creative Touch line (HOTP)
Pink, lavender, yellow, light green card stock - from my stash
Adhesive - I used my pink ATG gun
Tools
Cricut Expression
Just Because Cards Cricut cartridge
Potpourri Basket Cricut cartridge
Scoreboard
Corner rounder punch
Instructions
Using the "fit to page feature" on Just Because Cards, cut envelope #4 from the gingham paper. (I made note of the size this feature made the envelope and it was 4 3/4".) Using your scoreboard and bone folder, score the envelope on the appropriate lines and secure the sides and bottom of the envelope with adhesive.
Using pink card stock, cut the base of the card featured on page 45, "You take the cake", at 4 3/4". Cut the scalloped frame from yellow card stock, using the shift key at 4 3/4". Adhere to card base.
Using "Potpourri Basket" page 34, cut the baby buggy and its pieces at 1 1/2". (I used green as the base and used pink and lavender to cut the other pieces using the shift key.) Cut "It's a Girl" using pink at 1/2". While trying to determine my size, I first cut it at 1 1/2". This was too big, but I didn't let it go to waste. More on that later.
Cut a mat out of the gingham paper that is 3 1/4" X 4 3/8". Adhere to the front of the card. Adhere scallop onto the gingham mat. Position sentiment and baby buggy with it's parts to the front of the card.
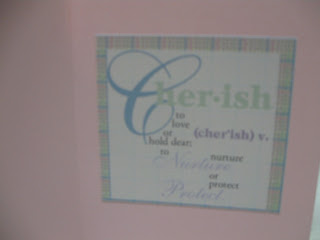
Open up the card and choose the "cherish" definition sticker from the Creative Touch baby sticker packet and adhere to the inside.
To finish off the card, I placed it in the envelope and sealed it with another sticker from the Creative Touch baby pack.
 |
| (Sorry about the blurry picture. The sticker says "snuggles and cuddles".) |


Comments